The content of this blog, including my art and worksheets, are copyright protected. I do give permission to reproduce for personal and classroom uses a reasonable, limited amount of my content. You do not need to contact me to ask for permission. All other use is forbidden. For more details see the permissions and restrictions statement in the footer. Please use the Paypal button to make your donation.

Thursday, February 21, 2013

Art 1 2/21/13 Scribbling as a Technique

Scribbling as a Technique
Spectrum art 1 Lesson 2/21/13
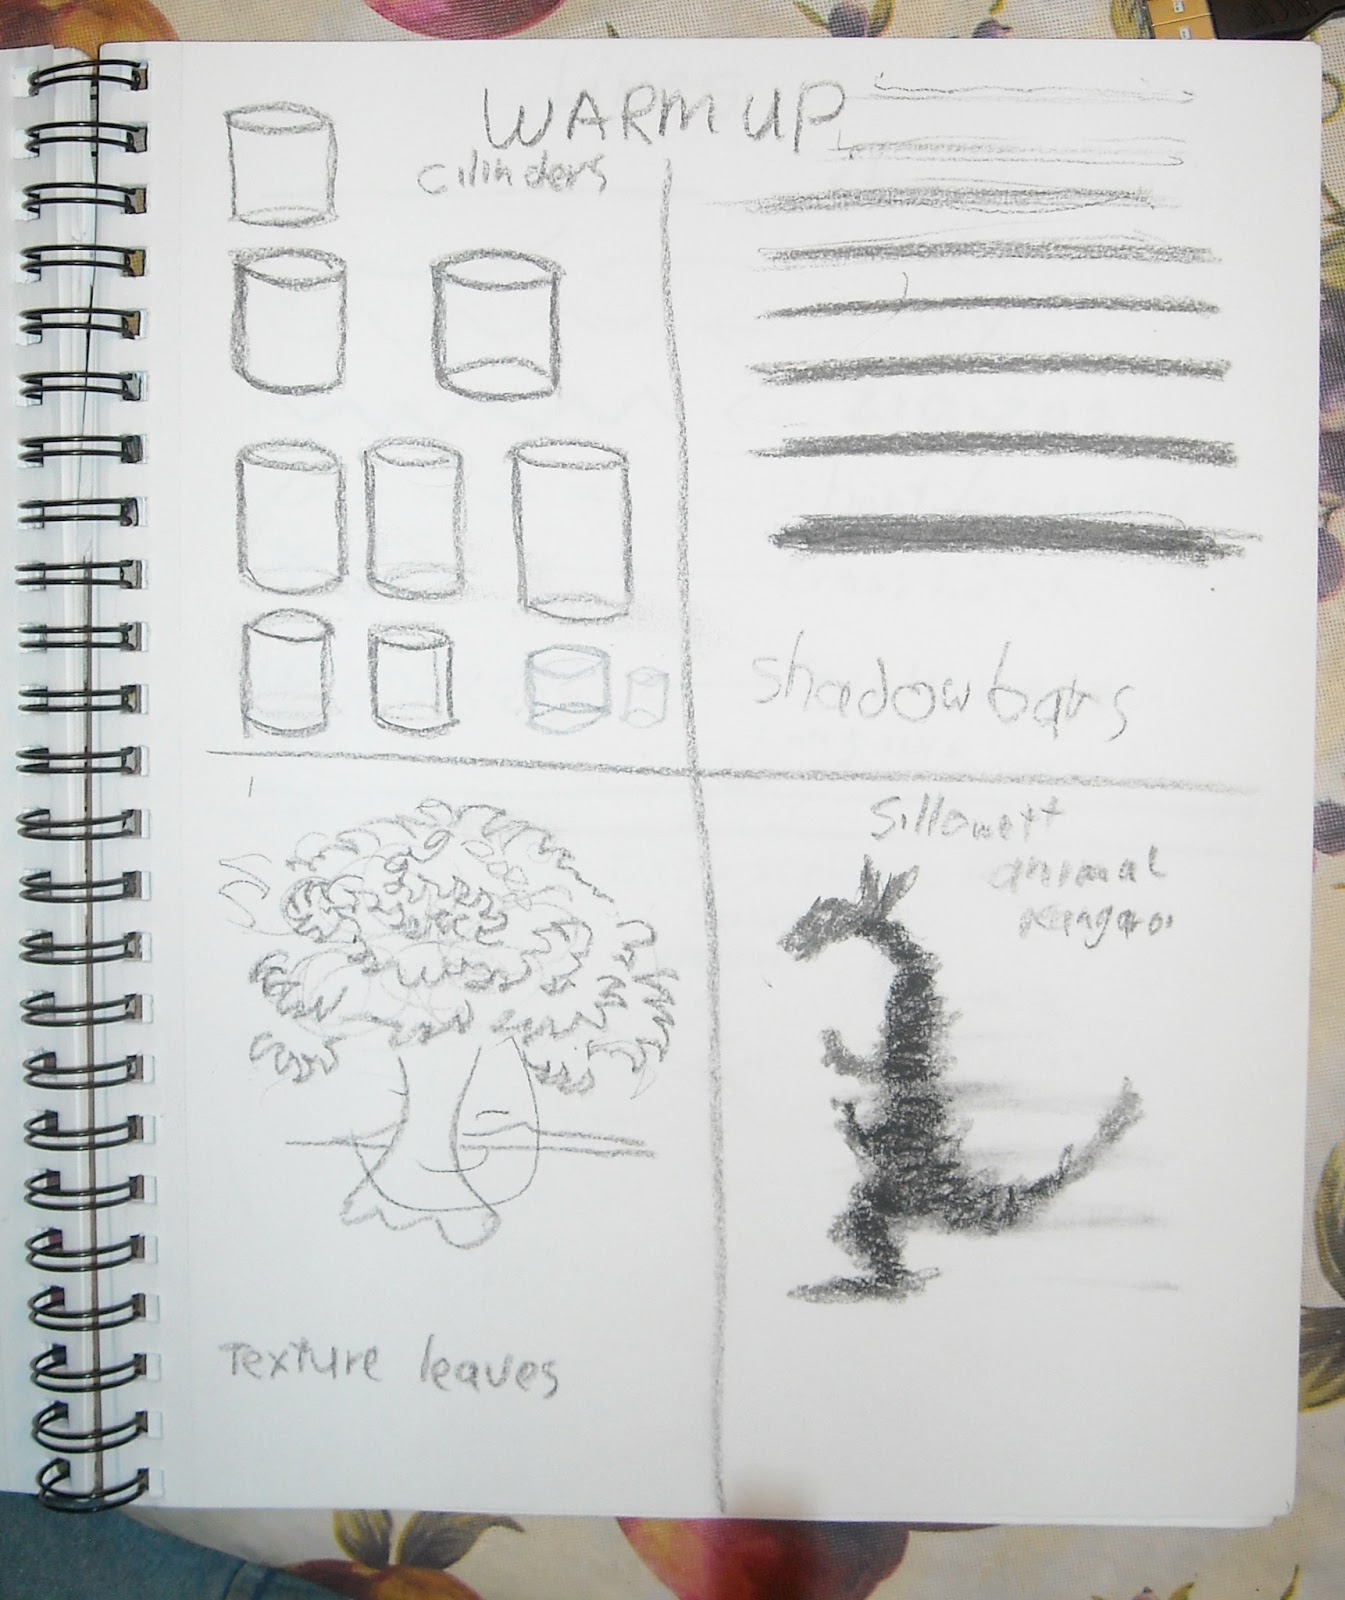
Warm-ups
1. Circles, 2. Lighting bolts, 3. Ocean waves. 4. Repeated figure "8" patterns.

The scribbling technique is loose and free this gives the artist opportunity to discover elements to put in a picture. Like free association in writing, it is ideal to overcome "Writer's Block,"  for an artist who has a difficult time to create a design or composition.

Using the Scribbling Technique we will draw an Iris Flower in bloom.

If time allows students will practice the technique to come up with their own designs.


(c)Adron Dozat


Thank you for visiting my blog.  I hope this project is fun and helpful for you. 

To find more like it see the labels at the right, use the search-box above, or choose one of the favorites in the left sidebar.  I am sure you will find one you like.


These are free to print but your small gift will help me keep this blog going, Choose your gift amount.
Use the share buttons below to share this, Thank you.

art 1 basic texture in drawing

Basic texture in drawing.

Warm ups:
1.Bark texture, 2.Grass texture, 3.Leaf texture, 4. Rock texture.

We draw a basic tree. Using the different textures above.

Remember the picture must tell a story, put a swing or tree house or something in the picture to give it a statement.

(c)Adron Dozat


Thank you for visiting my blog.  I hope this project is fun and helpful for you. 

To find more like it see the labels at the right, use the search-box above, or choose one of the favorites in the left sidebar.  I am sure you will find one you like.

Adron


These are free to print but your small gift will help me keep this blog going, Choose your gift amount.

Use the share buttons below to share this, Thank you.

Tuesday, February 12, 2013

Art 2 How to do Easy Printmaking

Art 2 Print Making
2/07/13

We used Styrofoam plates to make a relief print. We drew a picture on plate and cut around it and taped the picture to a piece of cardboard and and then print the picture.

Ideas for subjects:
Cat, clown fish, rose, flower, face, name or word, dog, train engine or caboose, any animal.

Valentines day hearts. red ink on heart. a second design with black over the red.

Below is an example of using Styrofoam to make a raised relief print.

First a cat or panther face was drawn onto the Styrofoam, it was then cut out using a craft knife, and using double stick tape attached to a piece of cardboard, in this case it was the cardboard from a cereal box.

The detail of the eyes were inscribed using a pencil.

When inked with a brayer the ink remains on the raised surfaces.

When paper pressed onto it leaves the image of the panther.

Printmaking Using Foam Plates

Below is an example of the results. I chose to only make three prints but an artist could make many prints.


Relief Printmaking, Using Foam Plate and Cardboard.


Thank you for visiting my blog.  I hope this project is fun and helpful for you. 

To find more like it see the labels at the right, use the search-box above, or choose one of the favorites in the sidebar.  I am sure you will find one you like.

Adron


These are free to print but your small gift will help me keep this blog going, Choose your gift amount.

Use the share buttons below to share this, Thank you.

(c) Adron Dozat

Thursday, January 31, 2013

Printmaking with Styrofoam Plates Art Lesson

Spectrum Homeschool Art 2
Printmaking Week 3

This week we used Styrofoam to create as a block to make a plate for our print. Styrofoam plates were cut to a workable size then the image was drawn with a pencil onto the Styrofoam plate pressing hard enough to leave an impression. The plate was inked using a brayer, paper was pressed onto the plate and the image transferred.

Each student did the letter from their name. (Apologies; the instructor forgot to mention the very important mirror effect of printmaking- everything comes out backwards.)

Students created several images.

Illustration of print making class work 
The illustration above shows the rough sketch, top, used to design the block, below. The block has been inked the white is the area depressed by tracing the design onto the Styrofoam.

Printmaking Class Block and two prints- mirror image.

The illustration above shows the block, center, and two images created by the block. Note the image is reversed.

Thank you for visiting my blog.  I hope this project is fun and helpful for you. 

To find more like it see the labels at the right or choose one of the favorites in the left sidebar.  I am sure you will find one you like.

Adron


(C)Adron Dozat

Art 1 How to Draw Ribbons

Spectrum Home School Community.
Drawing Lesson for 1/31/13

In class today we covered several subjects.
Warm-ups from art class

Our warm ups
     1. Practice drawing and shading squares. Students gave effort to making lines straight.
     2. Serpentine lines. Students were focusing on making the curves equal on both top and bottom.
     3. A face of an animal, real or imaginary, but using only straight lines.
     4. Flags waving in the wind. This led to a demonstration and project.

How to Draw Ribbons From Art Class.
Demonstration: How to draw ribbons and flags. Using two curved lines that parallel for an inch then cross makes a flowing ribbon. A waving flag is a pair of parallel lines that curve back and forth but always parallel. The edges of the folds are drawn last. A pendant is a pair of lines in a triangle but each twisting back and forth and matching the other as they intersect.


We practiced shadows by setting up a lamp and having the light shine on some boxes, in this case Kleenex boxes. Instructor demonstrated drawing the boxes and pointed out the different degrees of shadow, such as shadow inside shadow, shadow with reflected light, some shadows were deeper than others, etc.


Sketch of Boxes showing Shadows.

(c)Adron Dozat

Thursday, January 24, 2013

Intorduction to Printmaking part 2

Printmaking lesson 2 for Spectrum Homeschool

This was the second lesson introduction for the printmaking class.

We did tracing prints. Tracing print is to lay a clean sheet of paper over the ink and then to trace a picture on the back of the paper. The ink will be pressed into the paper as we trace the picture. We did three or four images in class.

Below is an example of a Church window drawing on the right. The small paper was placed on the back of the larger paper on the left which lay on top of the ink and then traced. The ink was pressed into the paper reproducing the image.

Note the image is in reverse.


Illustration of tracing print
Below is another example of a tracing. A picture of a seagull was placed on the paper as it lay on the ink the seagull was traced leaving the image on the paper. Multiple images can be produced this way.

Example of tracing prints
Each tracing was a little less dark as the ink dried. It required refreshing.

(c)Adron Dozat

How to Use Different Lines in a Drawing. Art 1

Spectrum Art Lesson For Art 1 1/24/13
Warm-Up Activities for Drawing Lesson

Our class started with a warm-up exercise.
1. Cylinders.
2. Shadow bars each one is darker than the next.
3. Texture like leaves, using shapes like the letter "V" and "W" and similar shapes.
4. A quick drawing of an animal in silhouette.


2 minute Quick Sketch


We did a quick sketch challenge of drawing some tennis balls on a napkin. This is done in two minutes


We discussed various lines and how to use them the examples are:
     * Straight line
An example of student's notes on lines in the drawing.
     * Curved line
     * Wavy line
     * Zig-zag line
     * Short or choppy line, (this also is the line used as texture).
     * Puzzle piece shaped line, (also using the line as a texture).

Using a variety of lines makes a picture look interesting.

We are encouraging the use of tools such as a ruler to draw a straight line or a compass to draw a circle. After all, we would not have much confidence in a carpenter or mechanic who did not have tools why should an artist be any different?

Examples of line drawings were given from artist work see link: Coloring pages for kids.

Students class work was to draw a scene from a favorite movie or story and to try to incorporate as many lines types as they are able.

Students were allowed to choose a variety of subjects for optional drawing. Including a still life of common household items, pages from travel magazines and clippings of sports figures in play from newspapers.  They are encouraged to use a variety of lines in their drawing.


Thank you for visiting my blog.  I hope this project is fun and helpful for you. 

To find more like it see the labels or choose one of the favorites in the sidebar.  I am sure you will find one you like.


These are free to print but your small gift will help me keep this blog going, Choose your gift amount.

Use the share buttons below to share this, Thank you.

(c) Adron Dozat